The North Cornwall Railway
LAUNCESTON TO OTTERHAMLeaving Launceston the route changed allegiance and followed the course of the River Kensey, climbing gently to the next station, Egloskerry, 200ft above sea level and some 17m 78ch from Halwill.
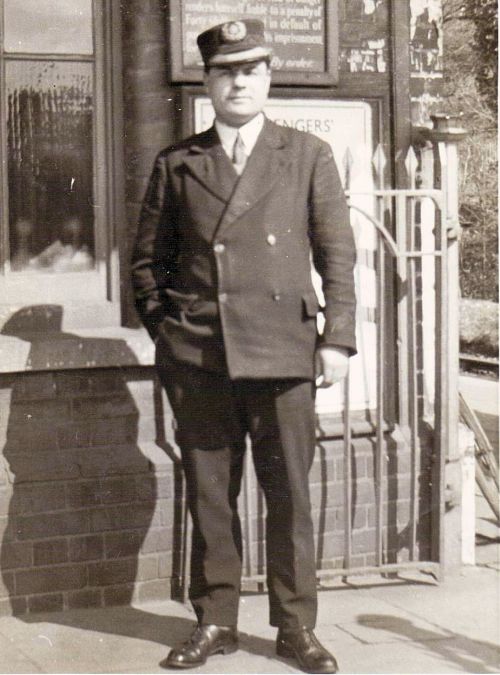
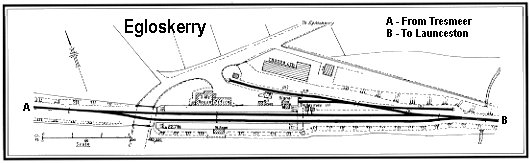
Egloskerry (link to map of station area)was provided with a short passing loop, two platforms and a small yard of two sidings and a cattle dock, though no goods shed nor crane was provided. It was also the only station between Wadebridge and Halwill to have a level crossing. Once again sited on the valley floor, several hundred yards down the hill from the village it served, it led a fairly peaceful existence though the goods yard was quite busy in the early years. After 1927 control of the station passed to Otterham, then in 1930 the single line instruments were moved from the Signalbox to the booking office and were subsequently operated by a porter-signalman. Goods facilities were withdrawn in 1961. 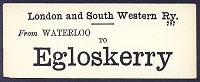
Right: A LSWR luggage label reproduced with thanks from the Mike Morant collection. Leaving Egloskerry the line started to climb more steeply, and with many reverse curves of 30 chains, up the Kensey valley to Lanzion, where rail and river parted company. Cutting through farmland en route to Tresmeer, there was a brief respite in the climb with a short down grade at Danakerry before the resumption of the climb, and some 25 chain curves, leading to Tresmeer station, some 500ft above sea level and 21m 49ch from Halwill. This section of the line could test any driver - regardless of whether on an up or a down train!
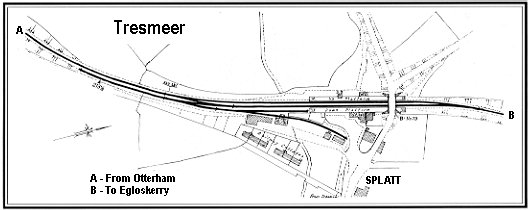
Tresmeer station (link to map of station area) was not in the village of this name, but at Splatt, a small hamlet about a mile to the north west of Tresmeer. Facilities were quite minimal, a short loop that would only accommodate 24 wagons, two platforms a siding and an end-loading dock. There were, however, a goods shed, a crane, cattle pens and a coal store. The station was quite busy when first opened as, being the temporary railhead, the Delabole Slate Company and the North Cornwall Coach Company both used Tresmeer as their point of rail embarkment. This caused the LSWR to receive a bill of some £71 for damage to the road caused by the heavy Delabole Slate traffic! Once Tresmeer settled down to life as a through station most of the traffic, as elsewhere, was agricultural with, for quite some time, special arrangements to suit two of the bigger customers using Tresmeer. Control of the station had passed to Otterham in the late 1920s, but otherwise life at Tresmeer continued in much the same vein. Outgoing rabbits were a big business, probably more so than cattle, and gave the station staff a chance to increase their income when handling the hampers they were transported in. A nearby Friday market was a source of incoming cattle for a while and even milk, not a normal North Cornwall line traffic, was loaded at Tresmeer. This prosperous goods traffic came to an end when the goods yard was closed, along with many others, on 7 September 1964. Decline was fast from here with the Signalbox closing from 14 November 1965 and just the down line in use from then until closure. 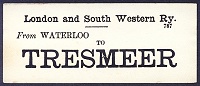
Left: A LSWR luggage label reproduced with thanks from the Mike Morant collection. Leaving Tresmeer the line continued its torturous route (designed to avoid building tunnels or viaducts) ever upwards towards Otterham. There were four complete 180° curves of 30 and 25 chains radius near Warbstow and a huge embankment (the largest on the line) at Treneglos. Once again there was a slight respite for down trains with a short dip in the gradient, but this was followed by more reverse curves on a rising gradient leading to Otterham station, 26m 40ch from Halwill and 850ft above sea level.
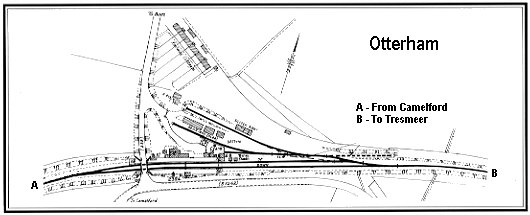
Otterham (link to map of
station area) station buildings were on the up side of the line
and are built from the local Delabole stone (slate), with a waiting shelter on
the down platform and the Signalbox at the London end of the up platform.
Oil-lit until the end, Otterham survived the economies of the 1930s, with its
Station Master assuming responsibility for Tresmeer and Egloskerry stations
from 1927. When the line was first built the road was diverted to run along the
southern boundary of the station, then to go north towards Bude a bridge was
built over the western end of the platforms. The stub of this truncated road
was then the site of a row of six railway cottages that were constructed in
1894 to house Signalmen and Permanent Way workers. 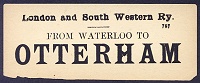
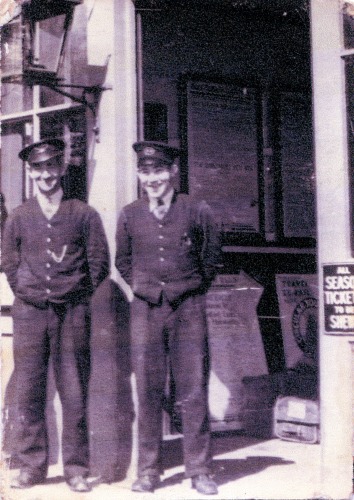
Right: A LSWR luggage label reproduced with thanks from the Mike Morant collection. The post-war boom in private motoring took away virtually all the remaining passenger traffic. Goods traffic fared better and was busy right up until the closure of the line. Rabbits were very important here, with livestock for Hallworthy Cattle Market some two miles away, and for the twice-a-year Boscastle Market, a regular traffic. Spring lambs were sent in both direction, up country and down to Truro. The surrounding area was quite prosperous for Cornwall, in farming terms, with a lot of associated farm traffic in incoming animal feeds, fertiliser and etc. and outgoing hay. Bulk traffic grew in the 1960s with trains being split for distribution around here, to Camelford, Delabole and etc. Surprisingly, there was no Goods Loading Shed built here, though a store was subsequently built on the up platform with a 2½ ton crane on the dock behind it. A single cattle pen was provided. The gradients in the area required careful marshalling of goods vehicles, whose brakes needed to be pinned down for the steep descents. One incident in December 1943, despite regulations that if followed correctly would have prevented it happening, led to six wagons and a bogie brake van running away at Otterham and not coming to a stand for some seventeen miles, near Tower Hill. It was reported in the local press that they had set a record for the time taken to reach Launceston, covering the distance far quicker than any passenger train! The stock didn't just simply stop, it ran to and fro inside the Devon border for some time first. WWII brought a large increase in traffic when an airfield was built at nearby Davidstow in 1942, though it was only operational until 1944 and closed in 1945. After closure the buildings were adapted for use by Cow & Gate for milk processing with some of the products leaving by rail from Otterham. One example of "round traffic" here was the shipment of whey to Wincanton where it was turned into separated milk for pig food, then some of these animals were shipped by rail through Otterham. Always well-staffed, Otterham had a Station Master, two Signalmen, two booking clerks and a porter in addition to the Permanent Way Staff based here who would assist with unloading wagons when required. The goods facilities were withdrawn on 7 February 1964 and the Signalbox and down loop closed one year later on 7 February 1965. By 1966 there were just three trains a day in each direction, Monday to Saturday only, which carried hardly any passengers. Built at the top of a 1 in 73 gradient, the actual station was on an easier grade of 1 in 330.
Return to top
|
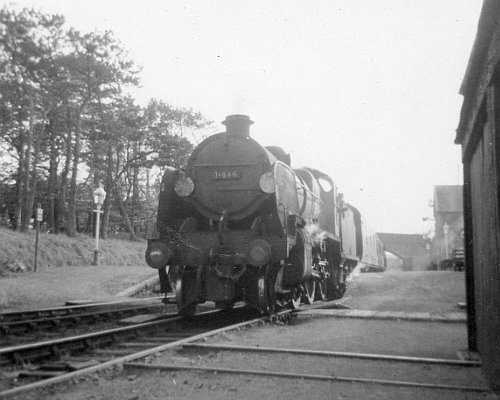
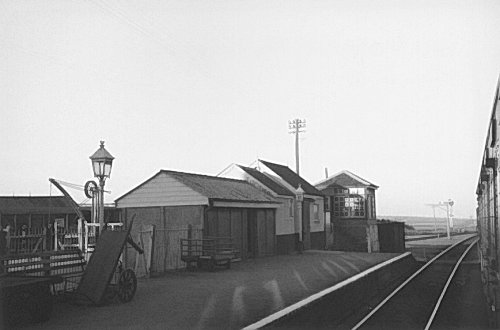
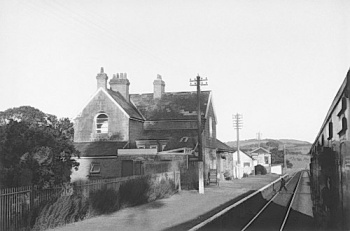 Left:
Egloskerry Station on 30th August 1961 with a down train just departing. Note
the member of the Station Staff crossing the tracks as he returns to the
station building.
Left:
Egloskerry Station on 30th August 1961 with a down train just departing. Note
the member of the Station Staff crossing the tracks as he returns to the
station building.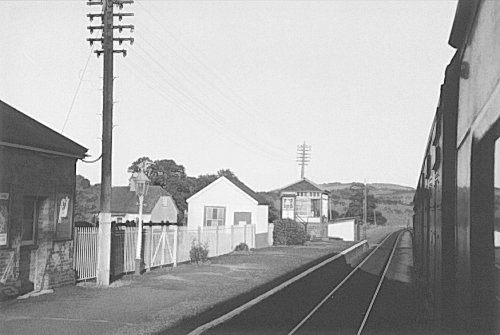
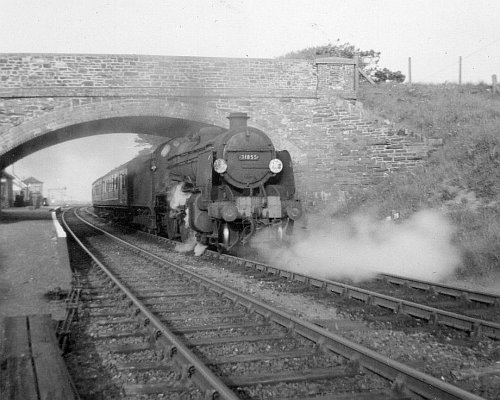
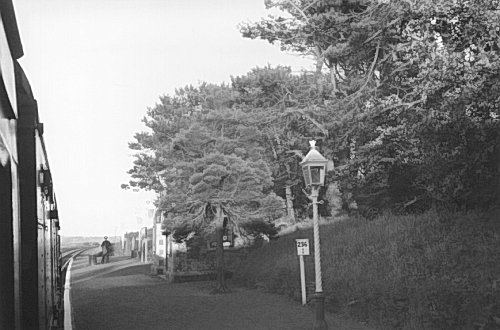
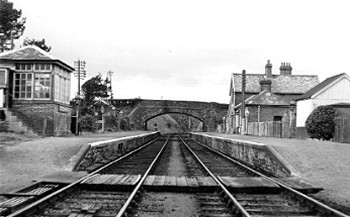 Right:
Tresmeer Station, date unknown.
Right:
Tresmeer Station, date unknown.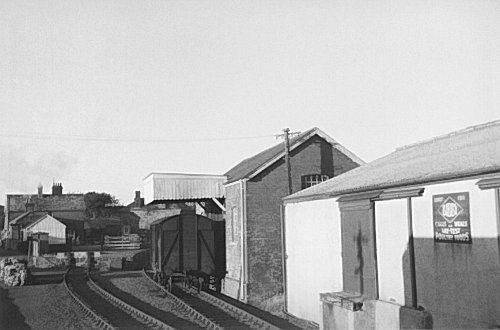
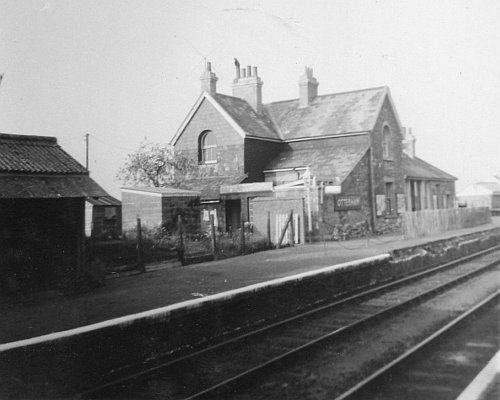
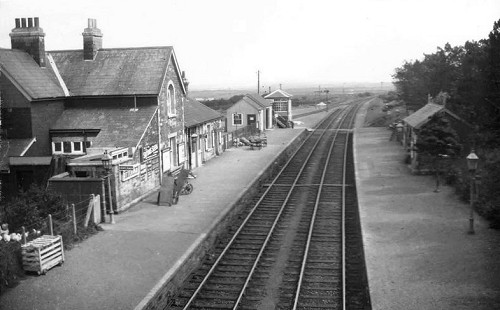
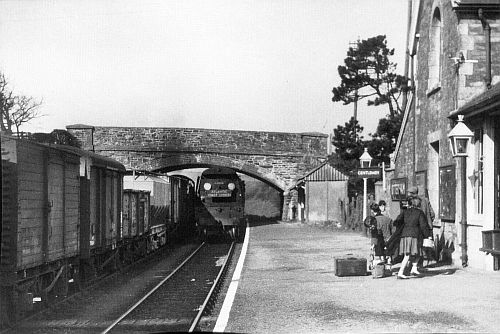 Left: Otterham Station on 21st April
1960.
Left: Otterham Station on 21st April
1960.